
November 11, 2023
How to Fix Common Nail Art Mistakes
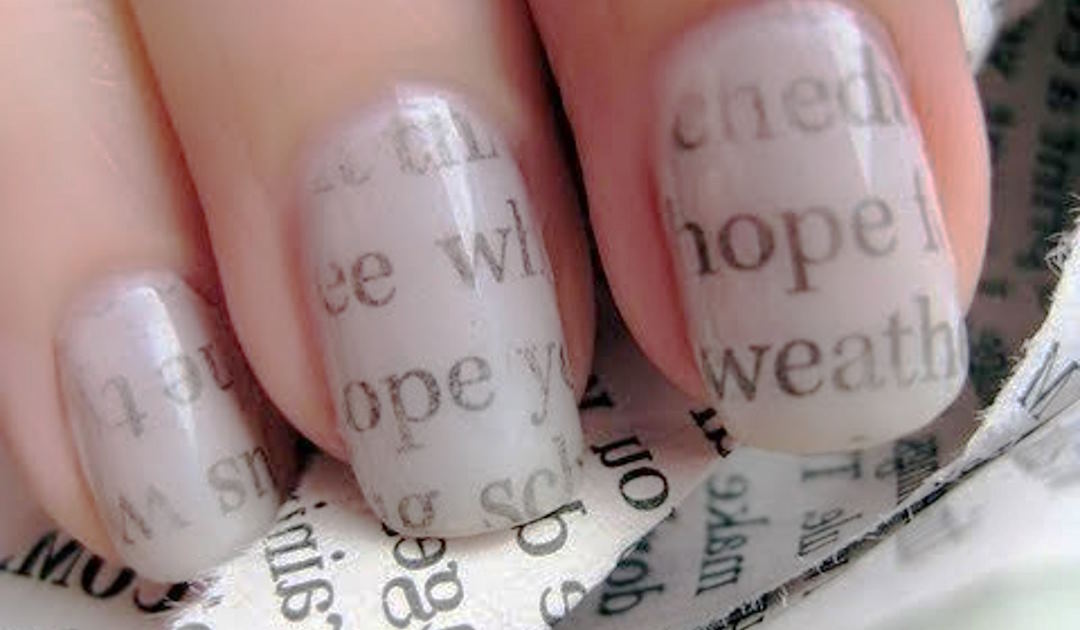
Nail art has evolved from a simple manicure routine to a captivating form of self-expression, allowing individuals to showcase their creativity through intricate designs and vibrant colors. However, the journey to flawless nail art is not always smooth, and many enthusiasts find themselves grappling with common mistakes that can diminish the overall aesthetic. From smudged polish to uneven application, these hiccups can be frustrating for both beginners and experienced nail artists alike.
Understanding Common Nail Art Mistakes
Nail art is a fascinating world of creativity, but it’s not without its challenges. Let’s explore some common mistakes that may crop up during your nail art journey and equip you with the knowledge to overcome them.
Smudged Polish
- Causes of Smudging: Smudged polish is a common woe, often resulting from impatience or inadequate drying time. Rushing through layers or not allowing each coat to dry properly can lead to unwanted smudges. External factors such as humidity or accidental contact with surfaces can also contribute to smudging.
- Prevention Techniques: Patience is key when preventing smudged polish. Ensure each layer is thoroughly dry before applying the next. Utilize quick-drying topcoats or consider investing in a nail drying spray for added convenience. Additionally, be mindful of your surroundings to avoid accidental smudging.
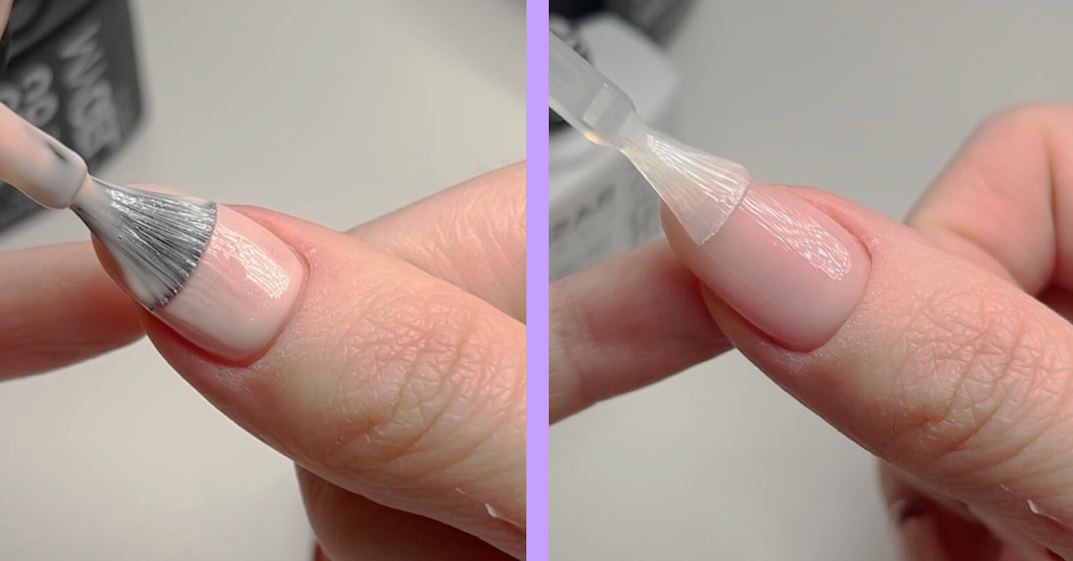
Uneven Nail Polish Application
- Reasons for Uneven Application: Achieving a flawless, even coat can be challenging due to factors like inconsistent nail surface texture, improper application techniques, or low-quality nail polish. The shape and size of your nail brush also play a crucial role in determining the smoothness of your application.
- Techniques for Achieving Smooth and Even Coverage: Begin by preparing your nails with a base coat to create a smooth canvas. Use quality nail polish and apply thin, even coats, allowing each layer to dry before adding the next. Experiment with different brush sizes and shapes to find what works best for your nail shape.
Chipped Nail Polish
- Common Causes of Chipping: Chipped polish often results from daily activities, such as typing or using your hands vigorously. Low-quality polish or skipping essential steps like base and top coats can also contribute to chipping.
- Tips to Prolong Nail Polish Longevity: Apply a durable top coat to protect your nail art and prevent chipping. Be mindful of your nails during high-impact activities and consider wearing gloves for added protection. Regularly touch up any small chips to maintain a polished look.
Nail Staining
- Sources of Nail Discoloration: Nail staining can be caused by prolonged use of dark-colored polishes, certain medications, or exposure to strong dyes. Smoking and inadequate nail hygiene can also contribute to discoloration.
- Methods to Prevent and Treat Staining: Use a quality base coat to create a barrier between your nails and pigmented polishes. If staining occurs, try gentle nail buffing or use natural remedies like lemon juice and baking soda to lighten the discoloration. Maintain good nail hygiene to prevent further staining.
Troubleshooting Nail Art: Rescuing Your Masterpiece
Navigating the world of nail art doesn’t always go as planned, but fear not! Let’s delve into some quick fixes and creative strategies to troubleshoot common mistakes and transform setbacks into opportunities for nail art brilliance.
Quick Fixes for Common Mistakes
- Smoothing Out Smudges: If you find yourself with a smudged masterpiece, a quick fix is at your fingertips. Gently dab a small, clean brush into nail polish remover and carefully blend out the smudge. Ensure your polish is dry before attempting this, and use a light touch to avoid further mishaps.
- Repairing Chips Without Redoing the Entire Manicure: Chipped polish doesn’t have to signal the end of your fabulous nail art. Grab the original polish color and carefully touch up the chipped area. Seal it with a top coat, blending it seamlessly with the existing design to revive your flawless finish.
Tips for Salvaging Nail Art Designs
- Strategies for Rescuing a Design Gone Wrong: Mistakes happen, but savvy strategies can turn things around. If a design isn’t going as planned, consider modifying it into a simpler version or altering the color scheme. Embrace the unexpected, and you might discover a new and improved design.
- Creative Ways to Transform Mistakes into Intentional Art: Don’t be afraid to embrace the unexpected and turn mishaps into intentional art. Convert smudges into abstract patterns, or strategically add accents to cover up imperfections. The beauty of nail art lies in its flexibility, allowing you to transform errors into unique and intentional elements of your design.
Remember, every nail art journey is a learning experience, and troubleshooting is part of the creative process. Embrace the challenges, get inventive, and turn your nail art mishaps into opportunities for artistic expression.